Garden scraps have generally proven to be a bit of a headache for me at the big garden. I’ve been spending so much time getting the place in shape after a fair amount of neglect, and as a result I have a lot of green scraps to deal with. The site that hosts the garden plots doesn’t have any place to dispose of these things, and dumping is strictly prohibited. So I either have to haul everything off site myself or I can figure out what to do with it there. A lot of my garden neighbors have corners devoted to compost piles, but in order to do that I would have to sacrifice a pretty sizeable amount of growing space and I’m not sure I’m willing to do that. (I mean, if you saw my last post, you know I have *quite* the list of crops going this year!)
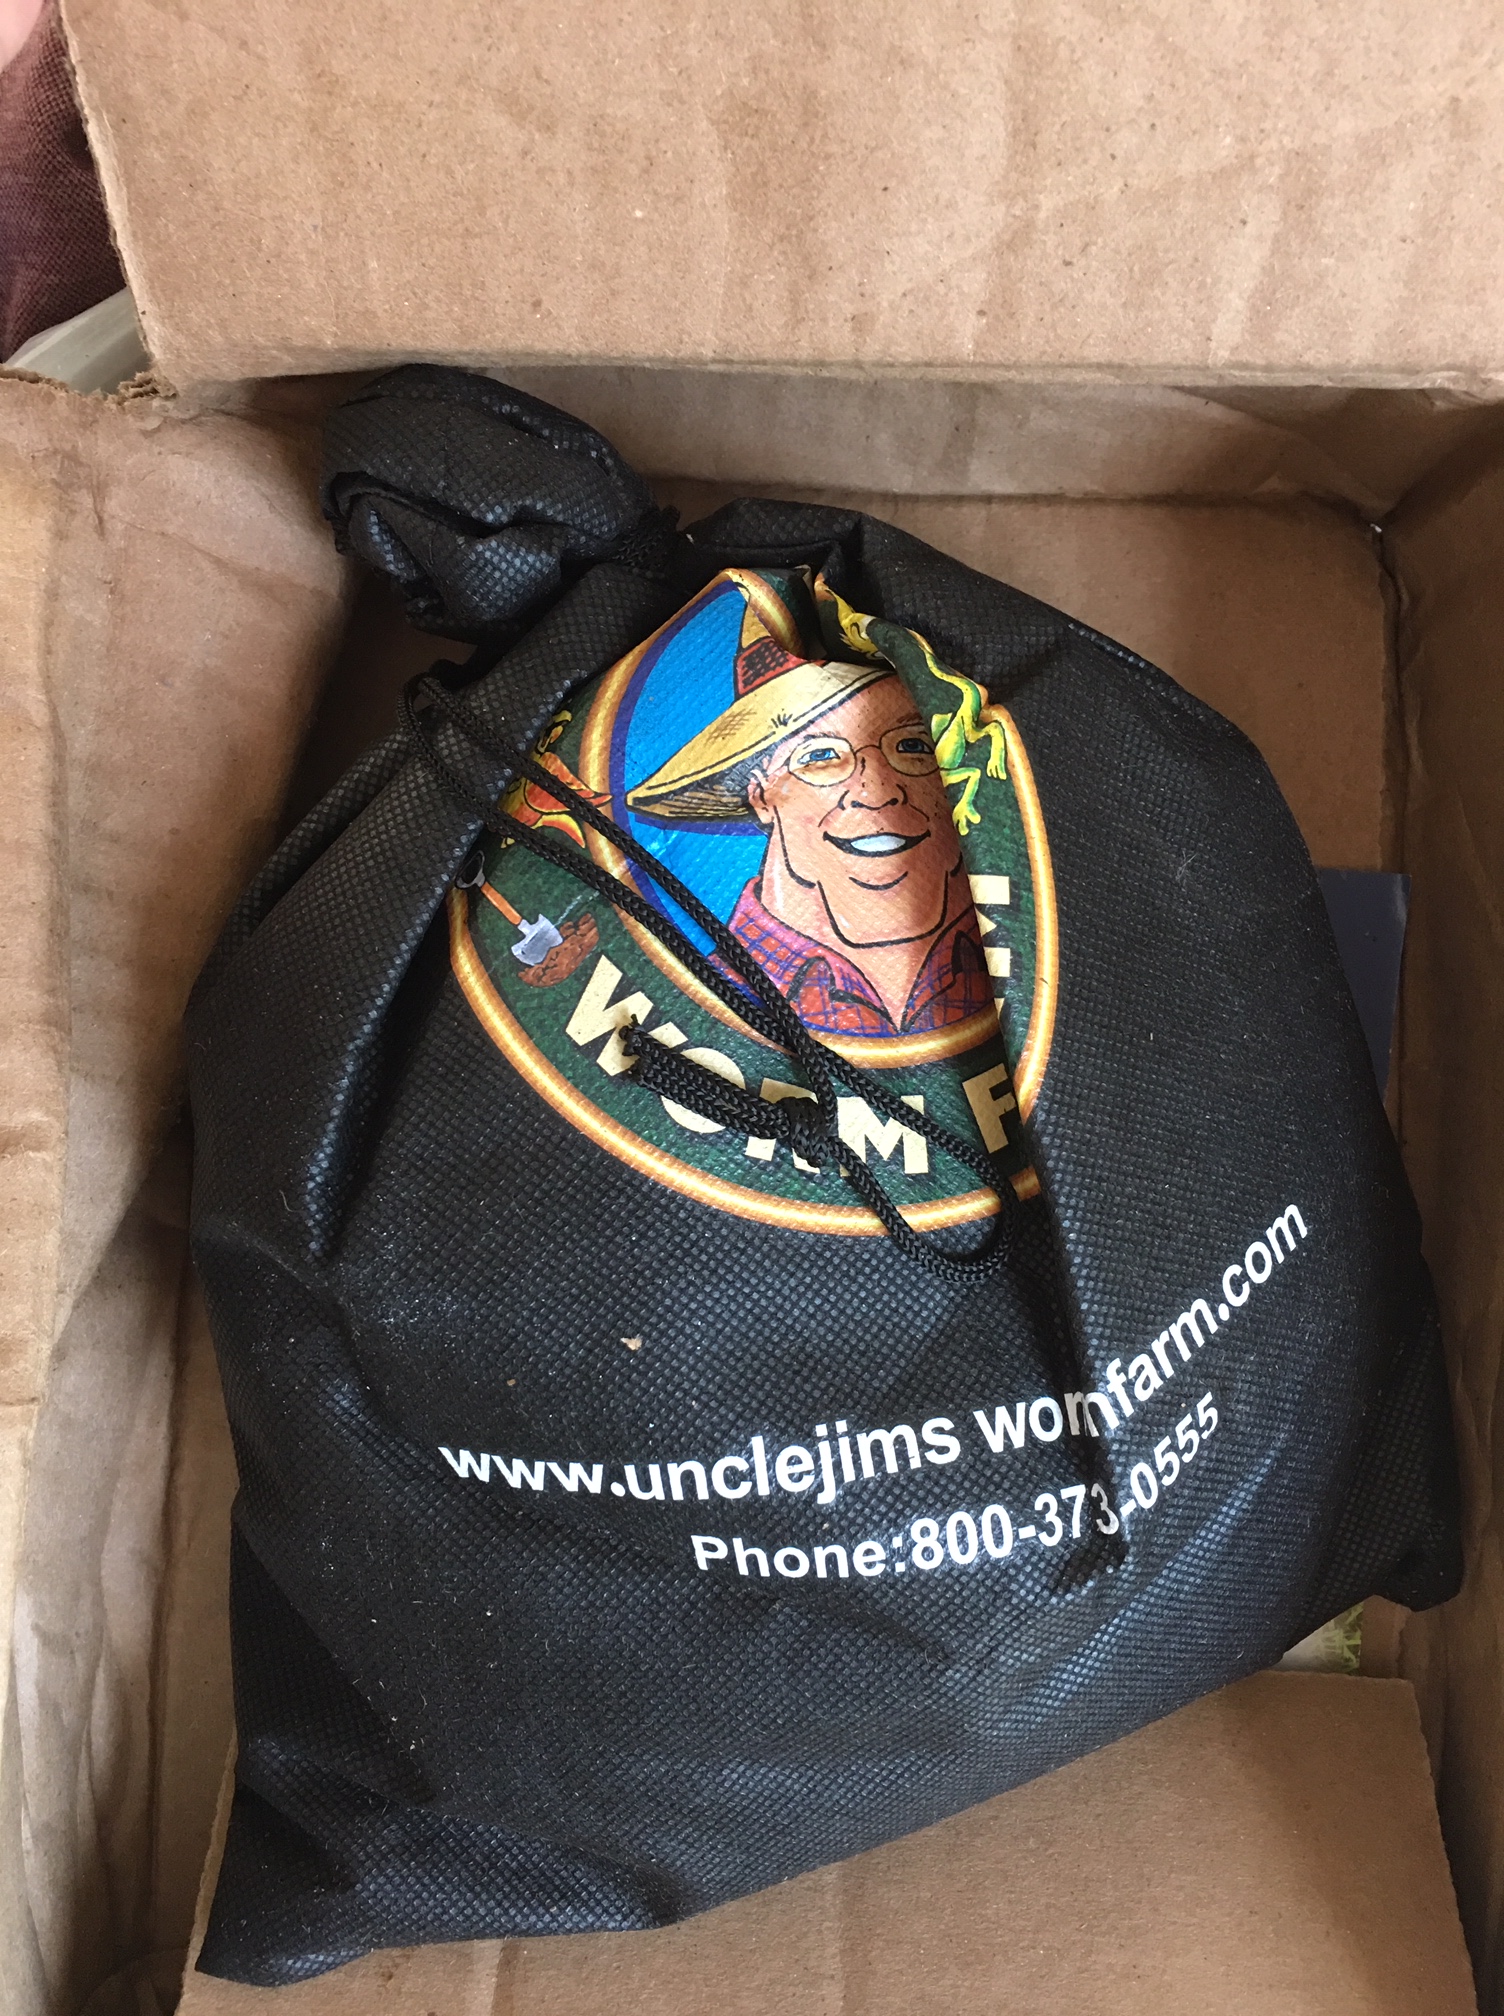
Last summer I set up a DIY compost bin that I made out of a trash can, but I filled it pretty quickly. It also has more green than brown material in it, which is a whole other struggle. While debating whether or not to set up a second trash can compost bin, I happened upon a blog post (here) about vermicomposting. I immediately thought, “This might actually be just what I’m looking for!” I’m hoping I can do a combination of compost in the trash can bin and compost in the worm bin. After reading that post a few times, I did some more research, bought a bin, and then ordered 500 red wigglers from the internet.
What a time to be alive.
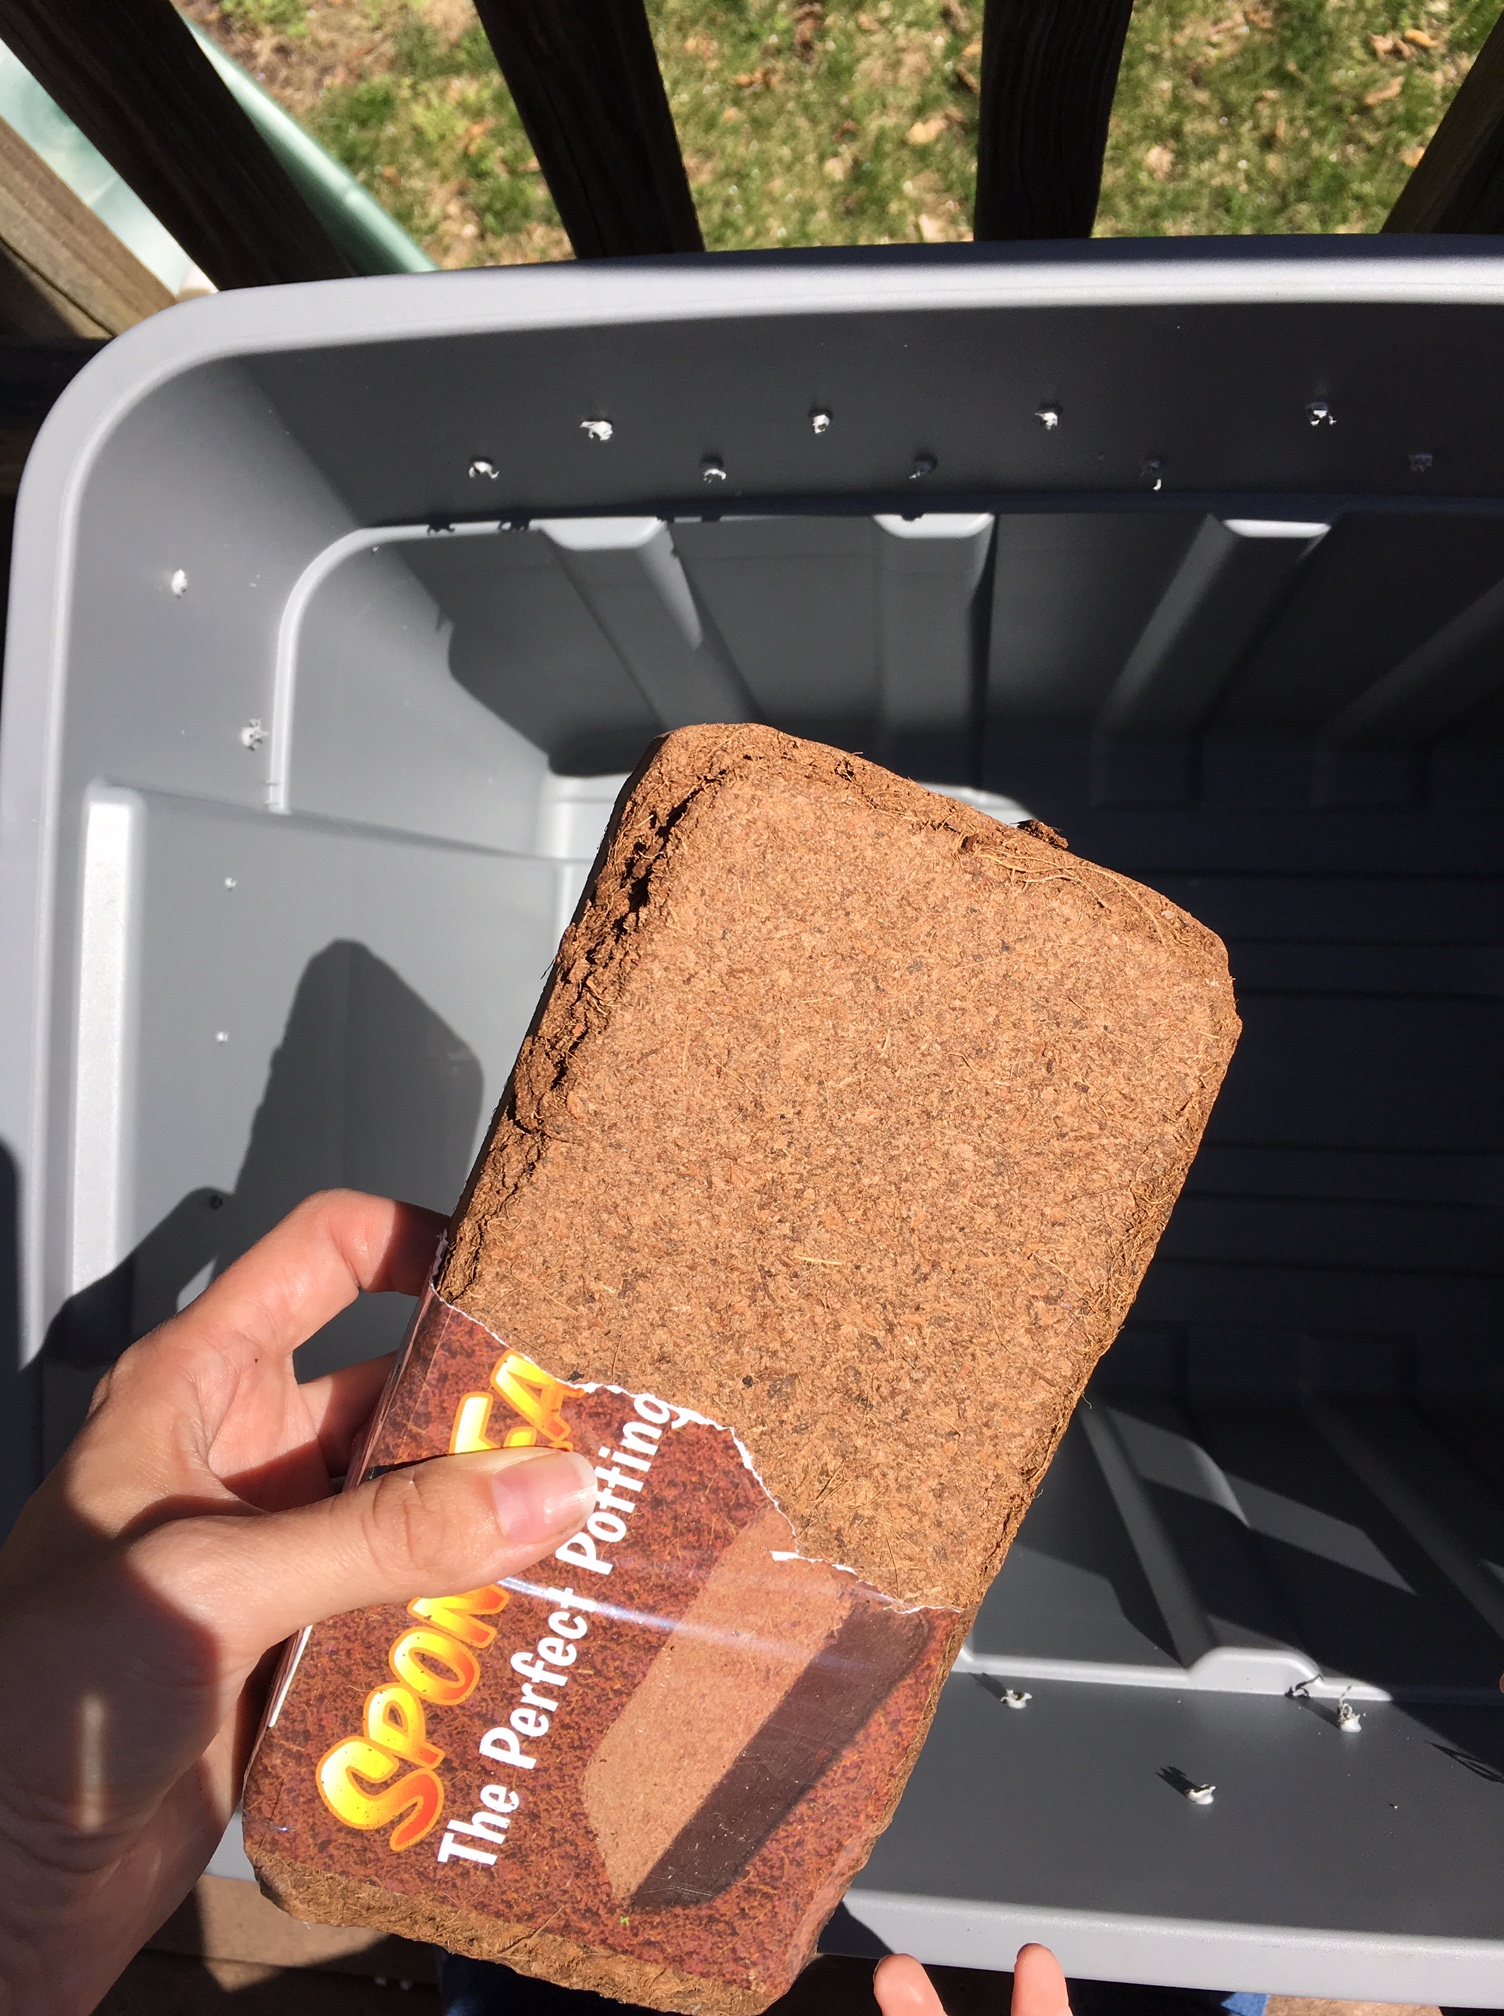
I opted for a smaller-sized bin, because I need to be able to transport it between home and the big garden. I figure I won’t leave it there during the winter, and therefore I need to be able to fit this thing in my car. After placing my worm order, I started gathering the rest of the materials for worm bedding (I won a free block of coco coir from the website where I ordered the worms, so that was very exciting and helpful). I pulled a lot of cardboard and brown paper scraps out of the recycling and cut them up to mix with the bedding. Then I waited impatiently for two days.
My new worm bin residents (or as my six year old calls them: the wormy worms) arrived yesterday, and before I could get them situated I needed to saturate the coco coir with water until it was nice and fluffy. Every source I found said to keep the worm bedding moist, but not too wet, like the consistency of a damp sponge, so that’s what I was aiming for. Because of the wonders of FedEx tracking, I knew when my package would arrive, and I promised my six year old that I would wait until she was home from school before I put them in the bin. This arrangement worked out because I had to soak the bedding materials and make sure there was something to actually put them in.
Pre-Soaking 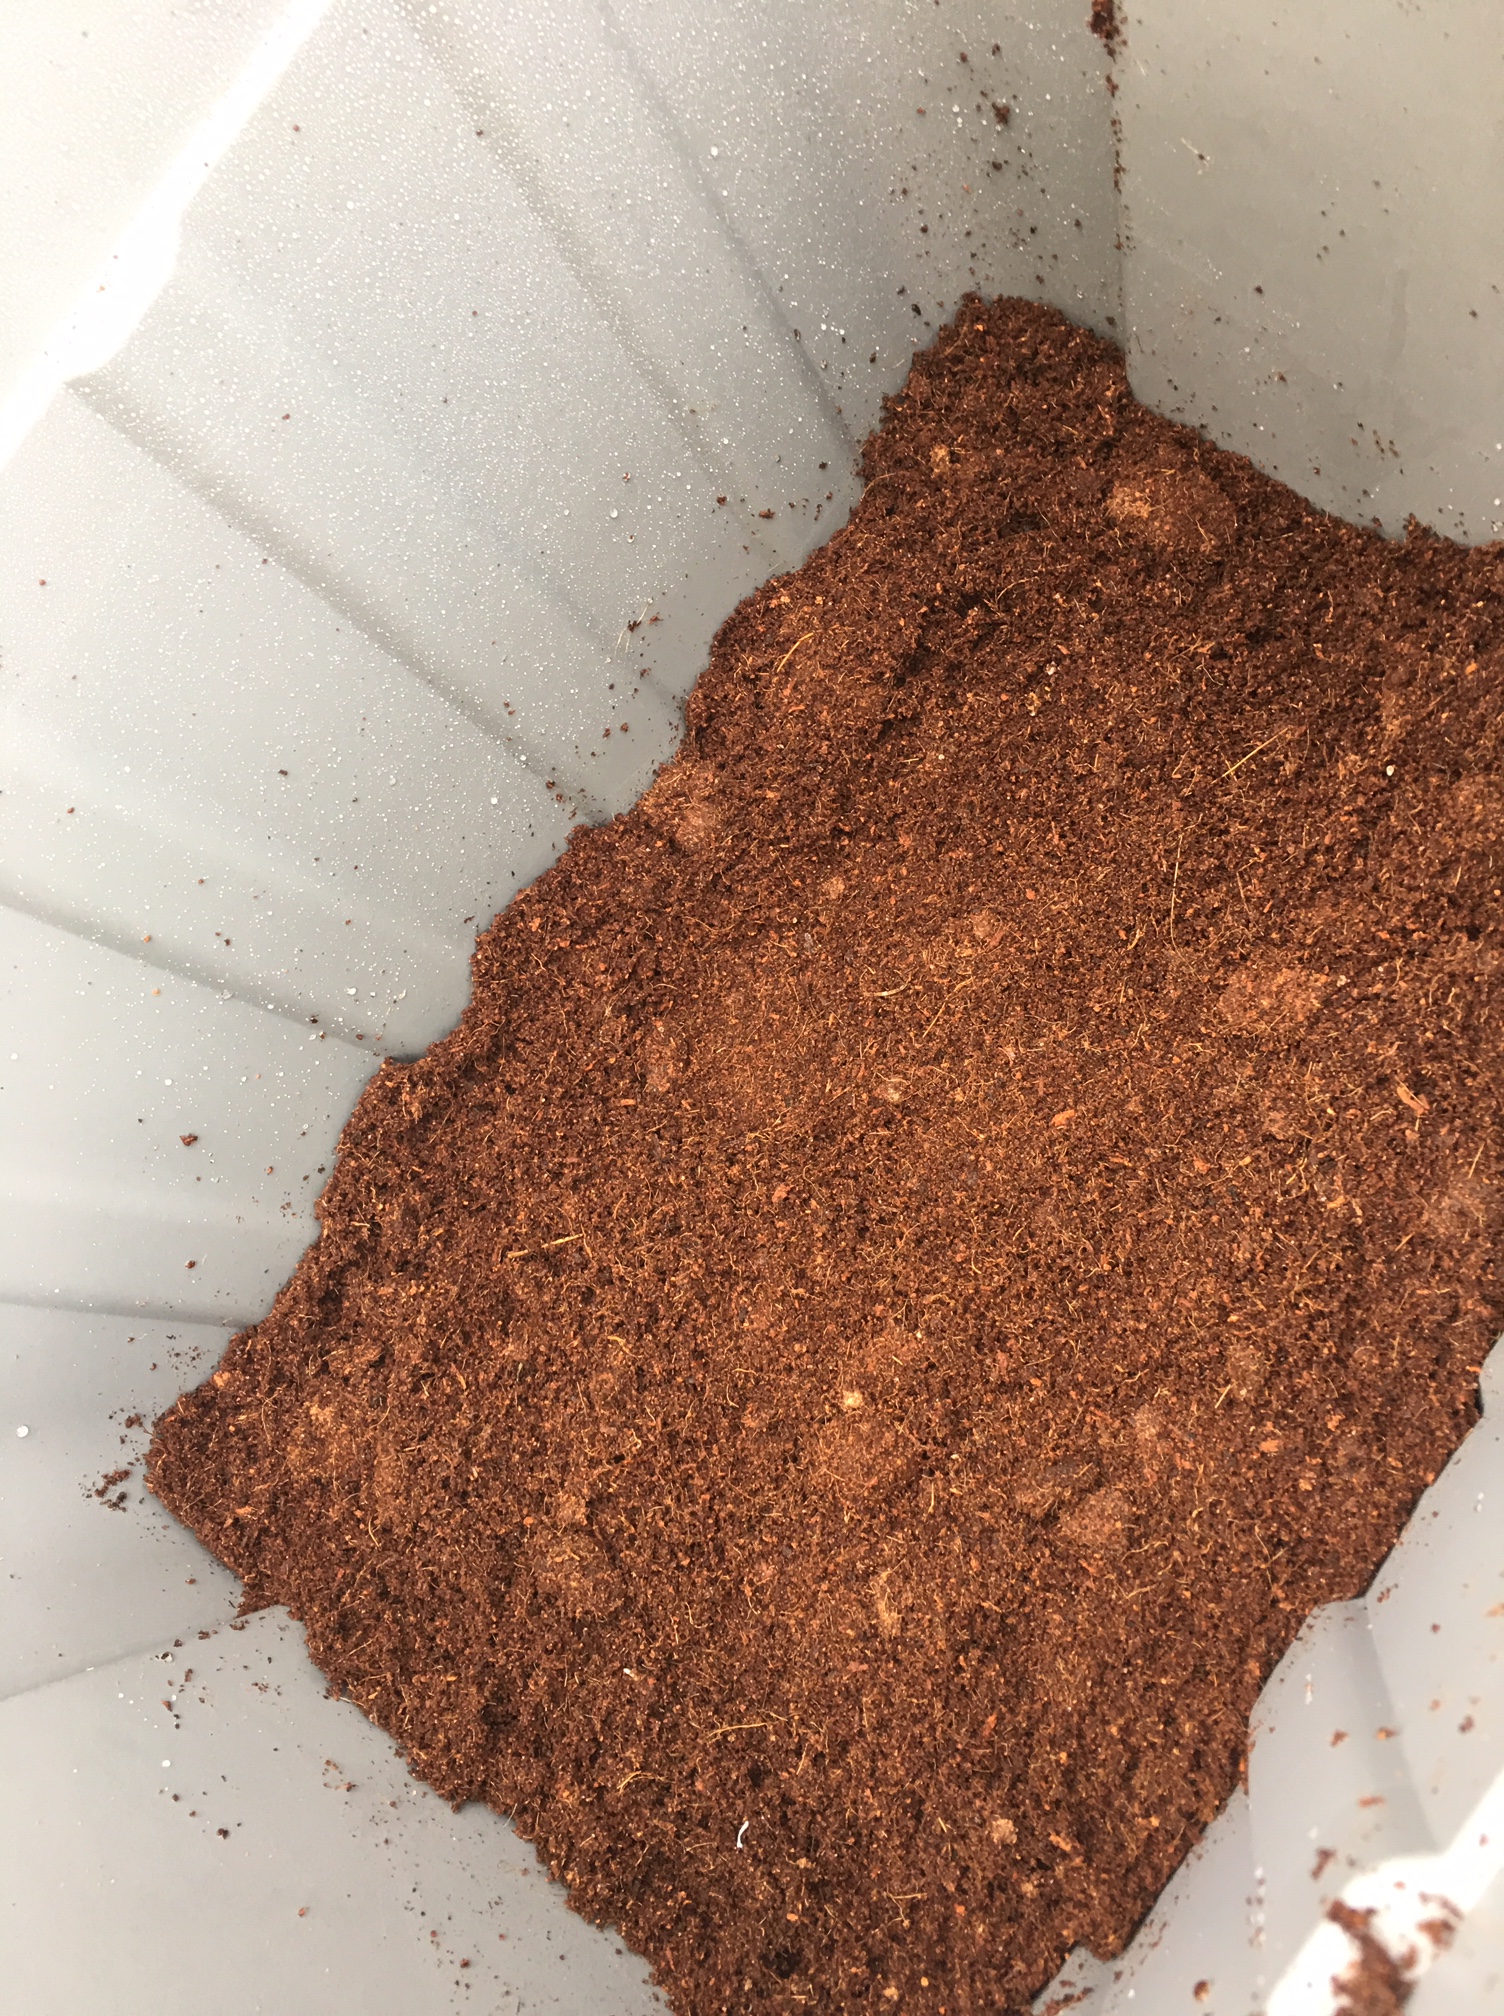
So Fluffy!
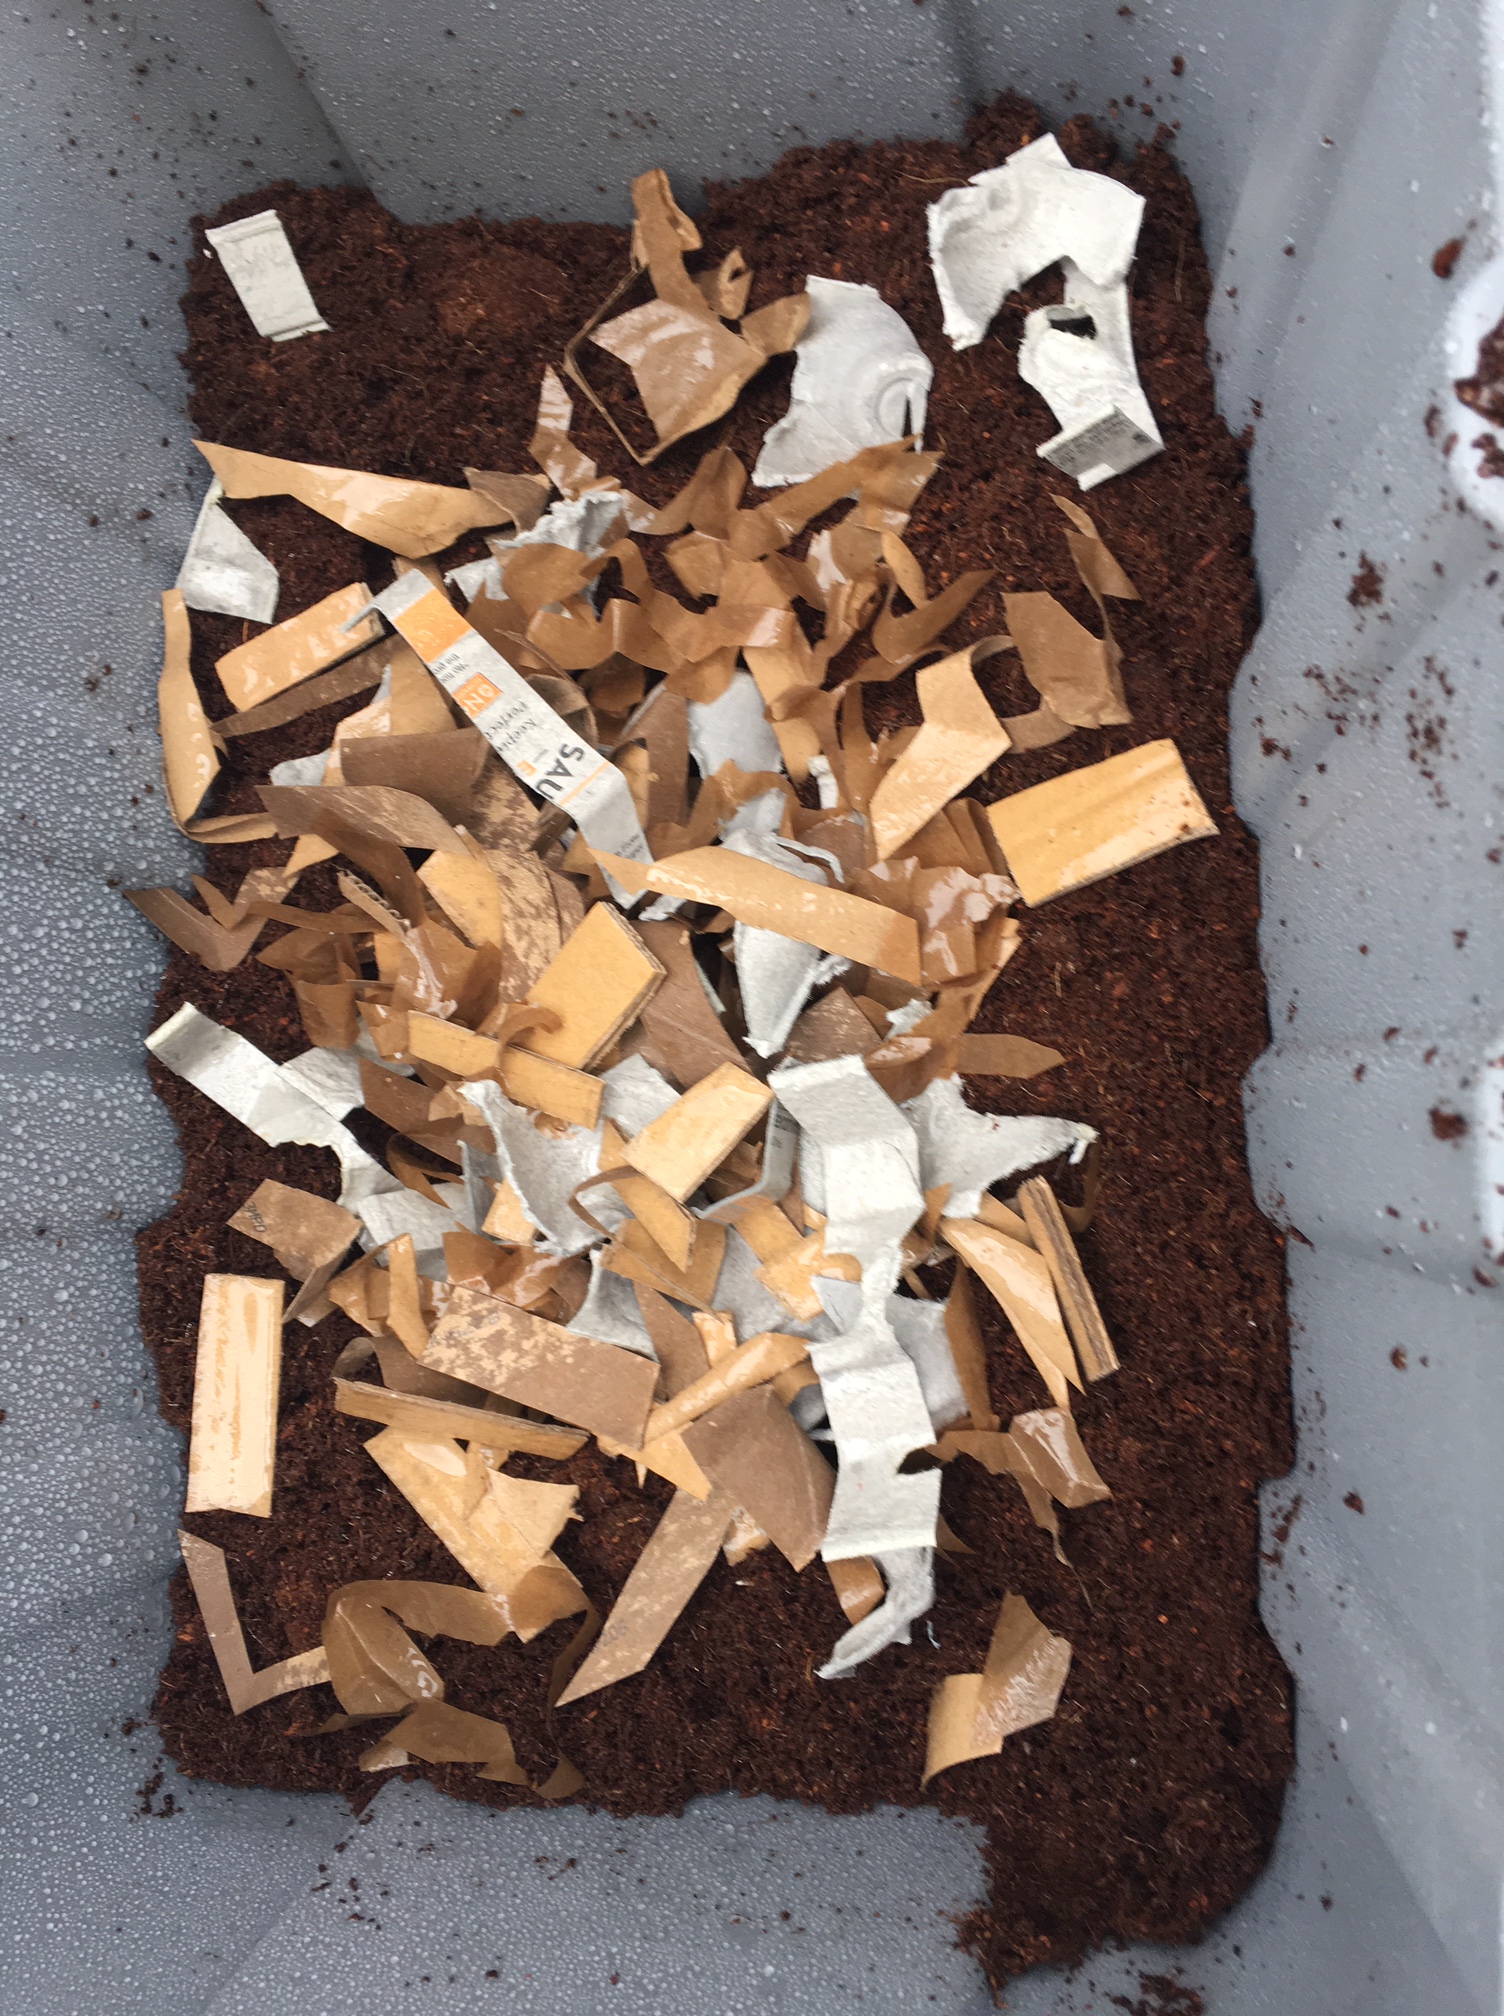
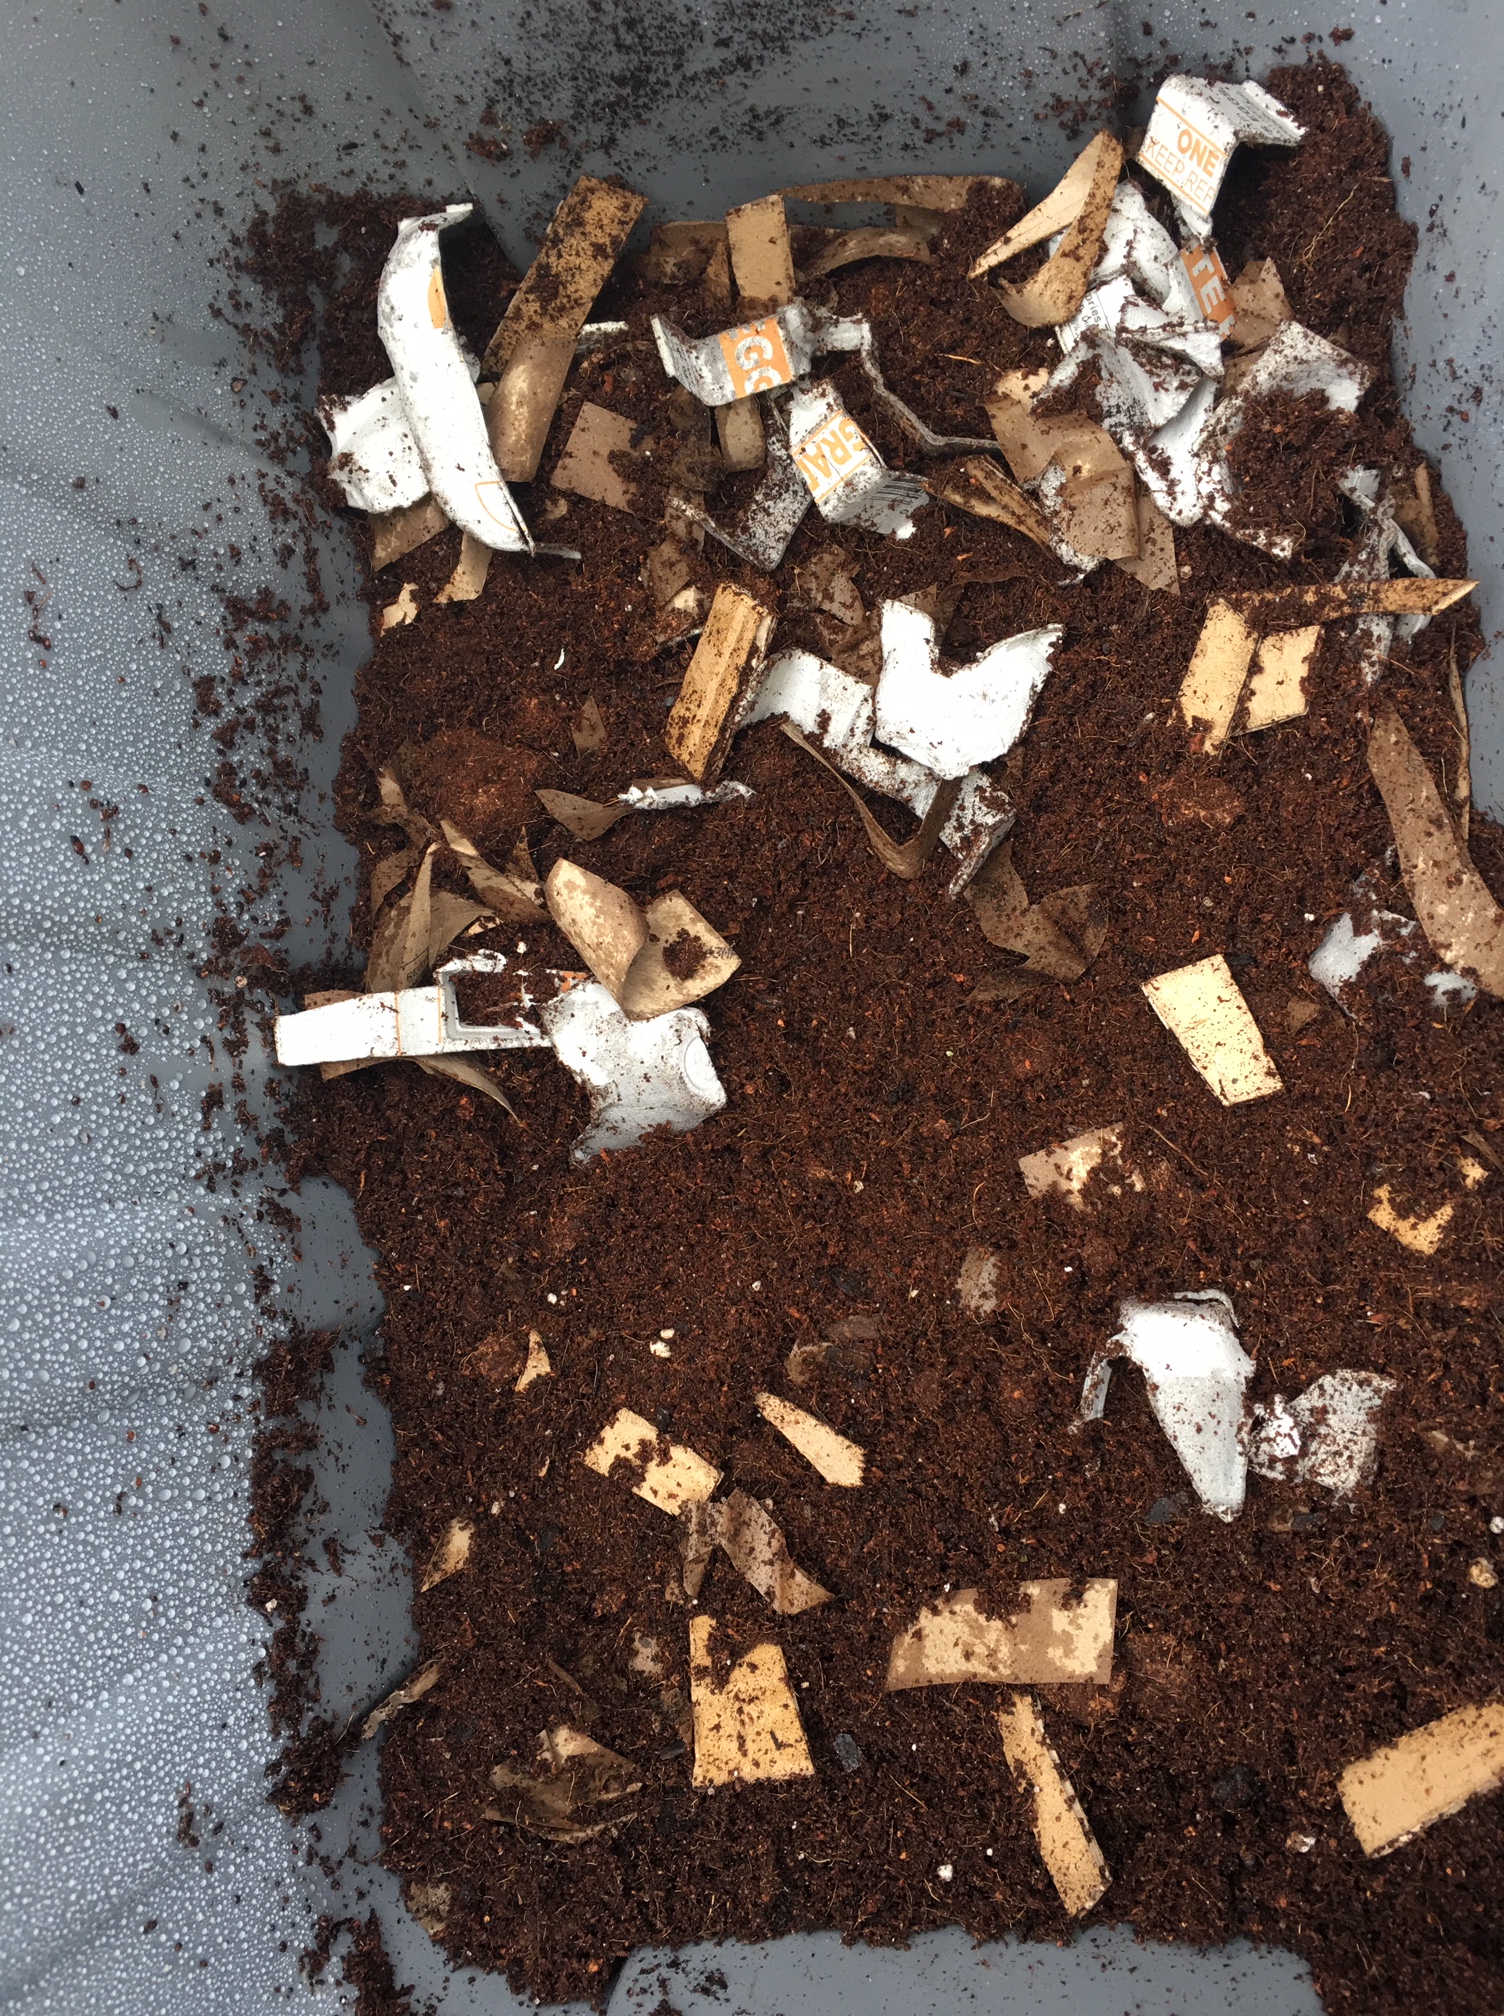
Once they were ready to go in, I mixed in the shredded and cut up cardboard and brown paper (which I also dampened using a spray bottle), and I also added some leftover potting soil that I had because I read that worms need some grit to help them digest what you feed them.

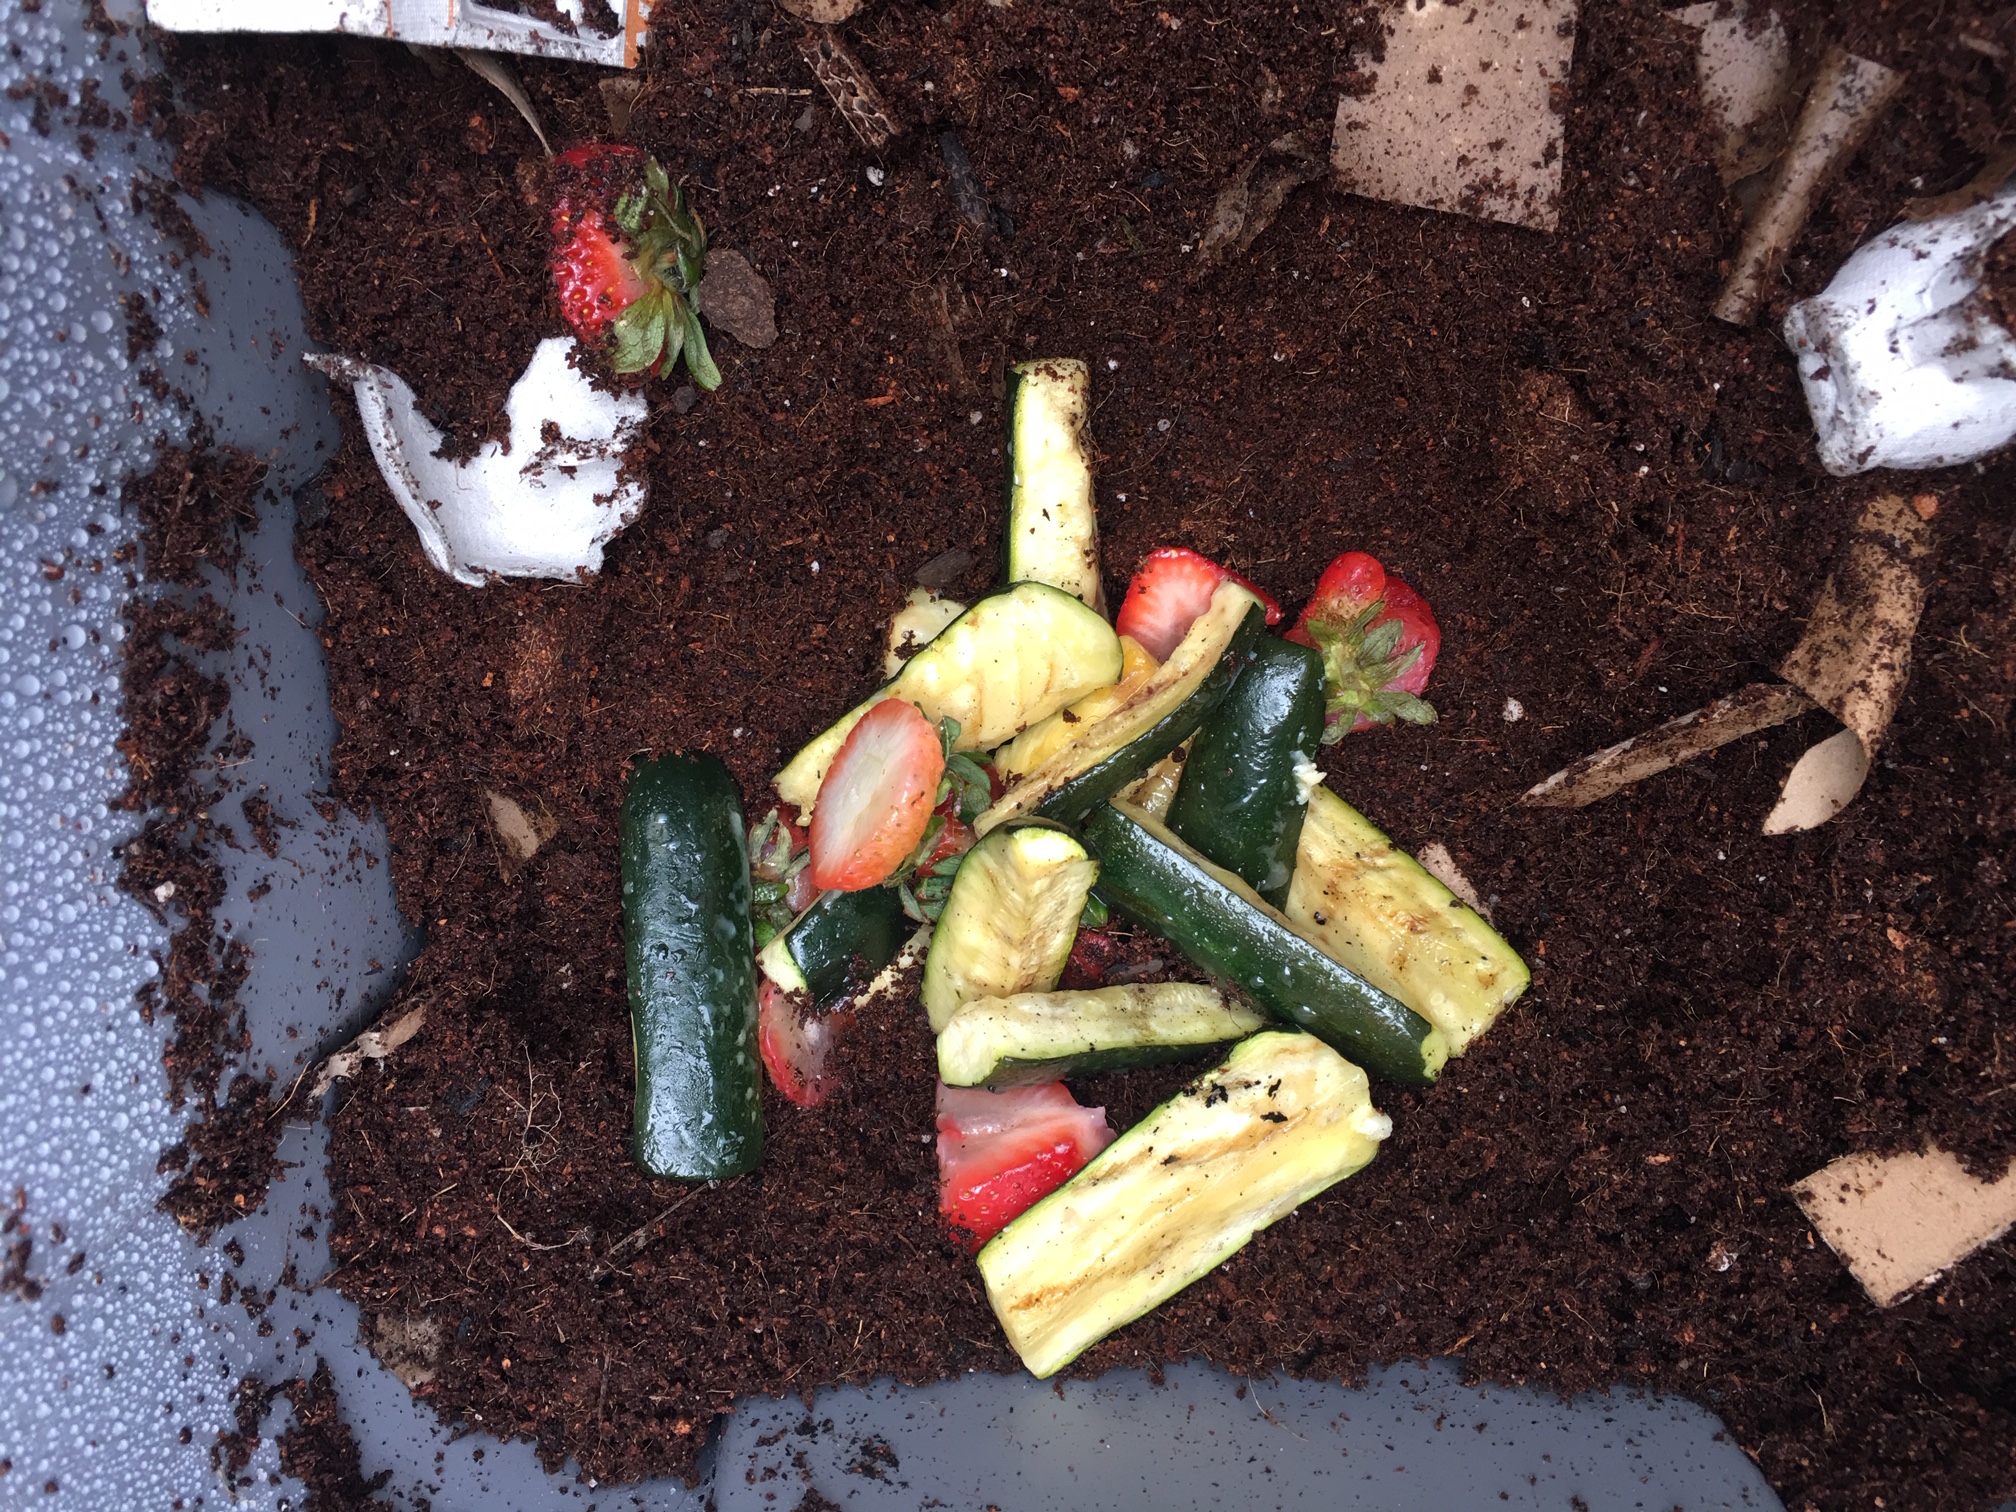
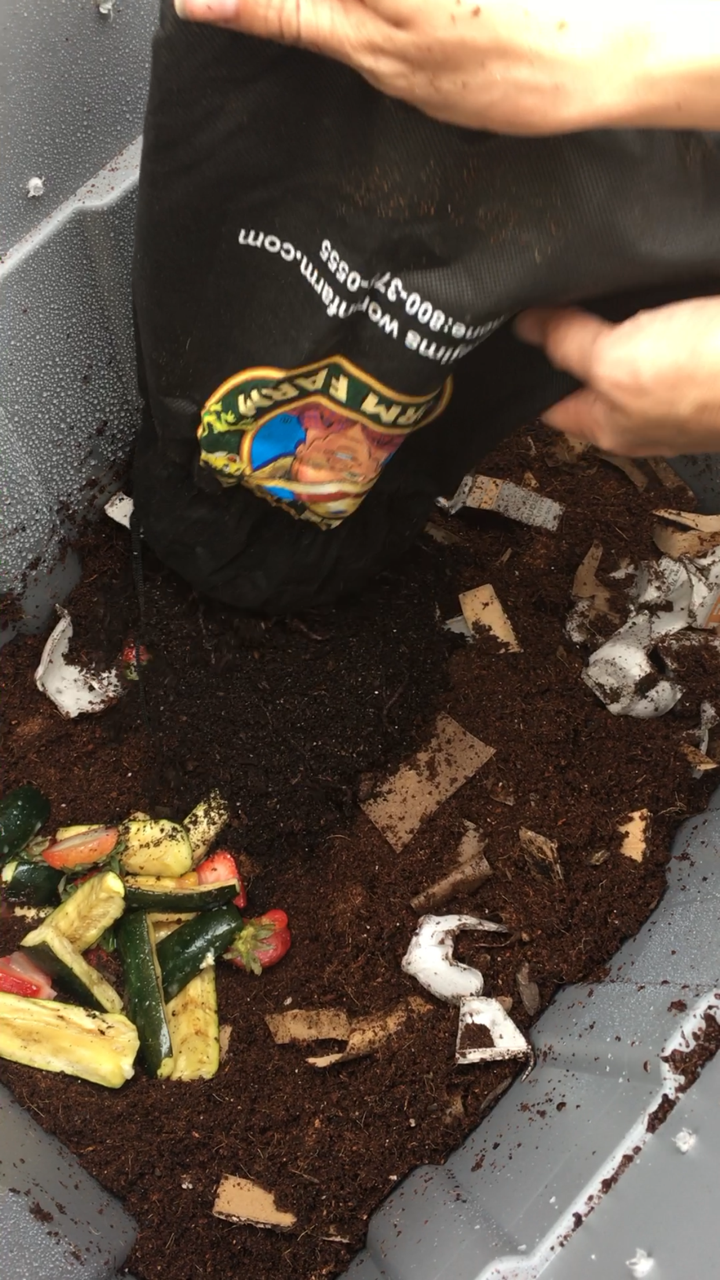
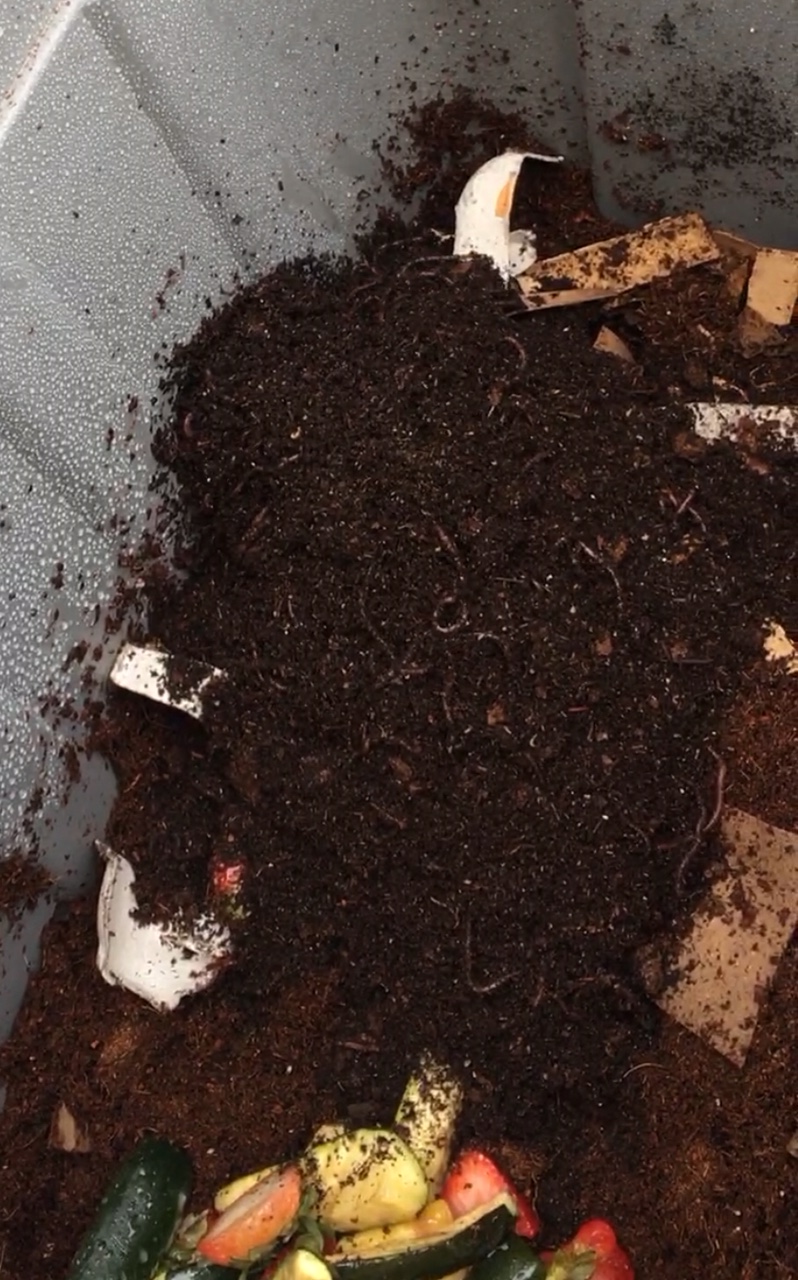
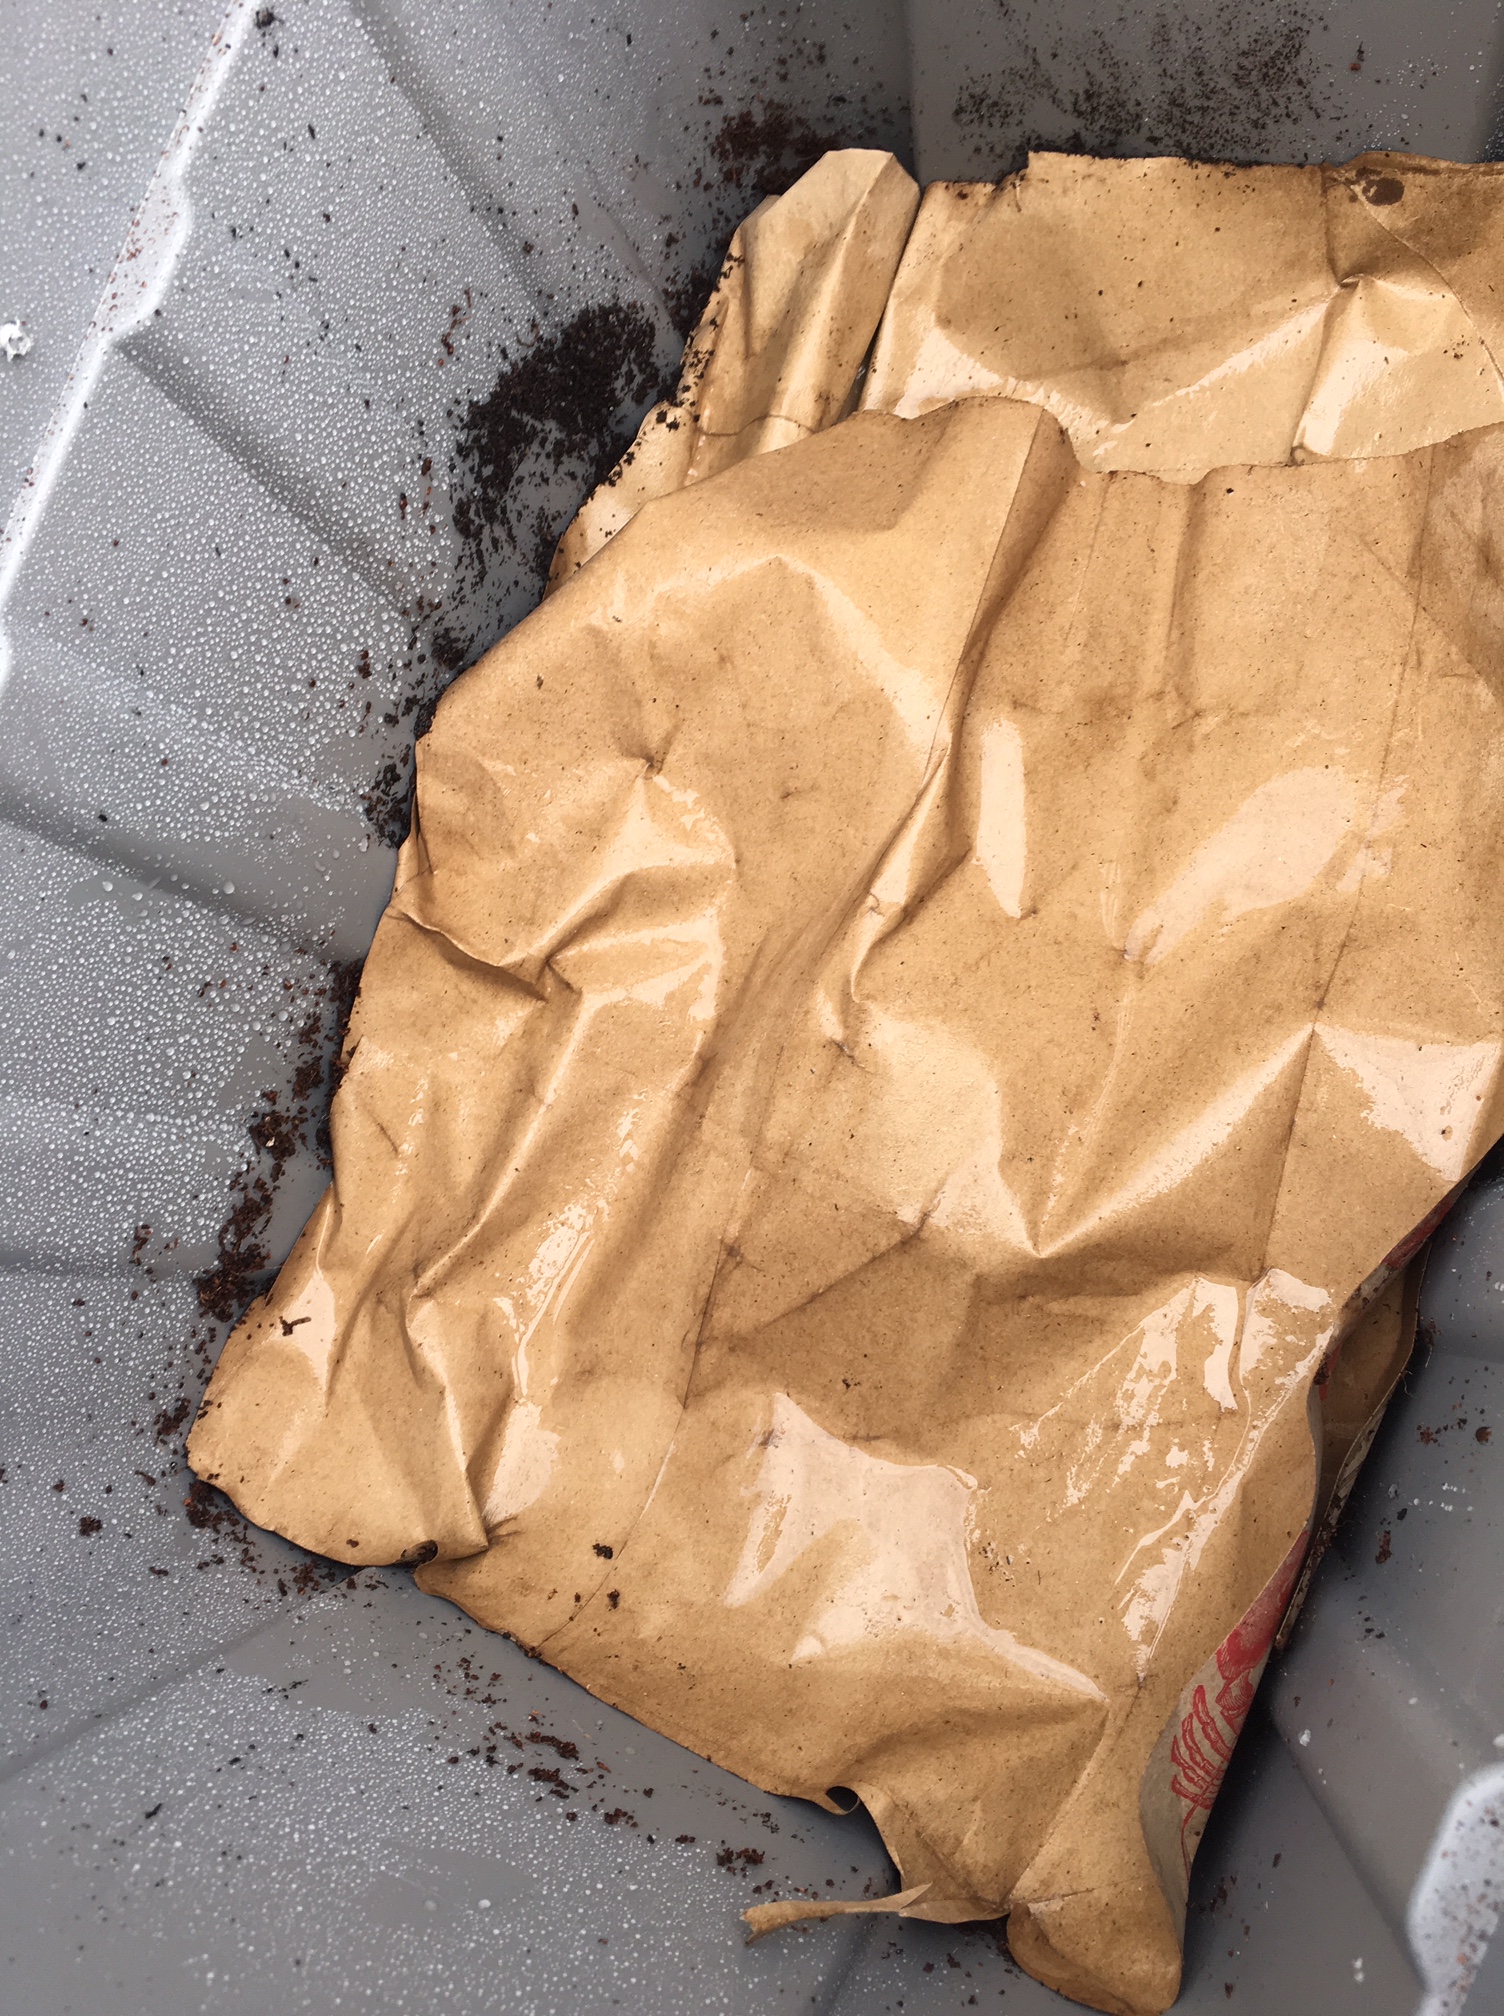
I found differing advice on whether or not to feed the worms right away, or to let them get settled for a day or two. I decided to go ahead and put some food in there, because they were in the mail for two days and I figured better safe than sorry. I dug a little spot for the food, and then poured them out of their bag. They definitely looked skinny, but were very wriggly which was great. I read another tip to cover them with damp newspaper to stop them from sneaking out of their bedding and up the sides of the bin in a bid for freedom. I didn’t have newspaper but I did have some paper grocery bags from Trader Joe’s, and I figured that would work. Once they were all tucked in I closed up the bin and let them rest.
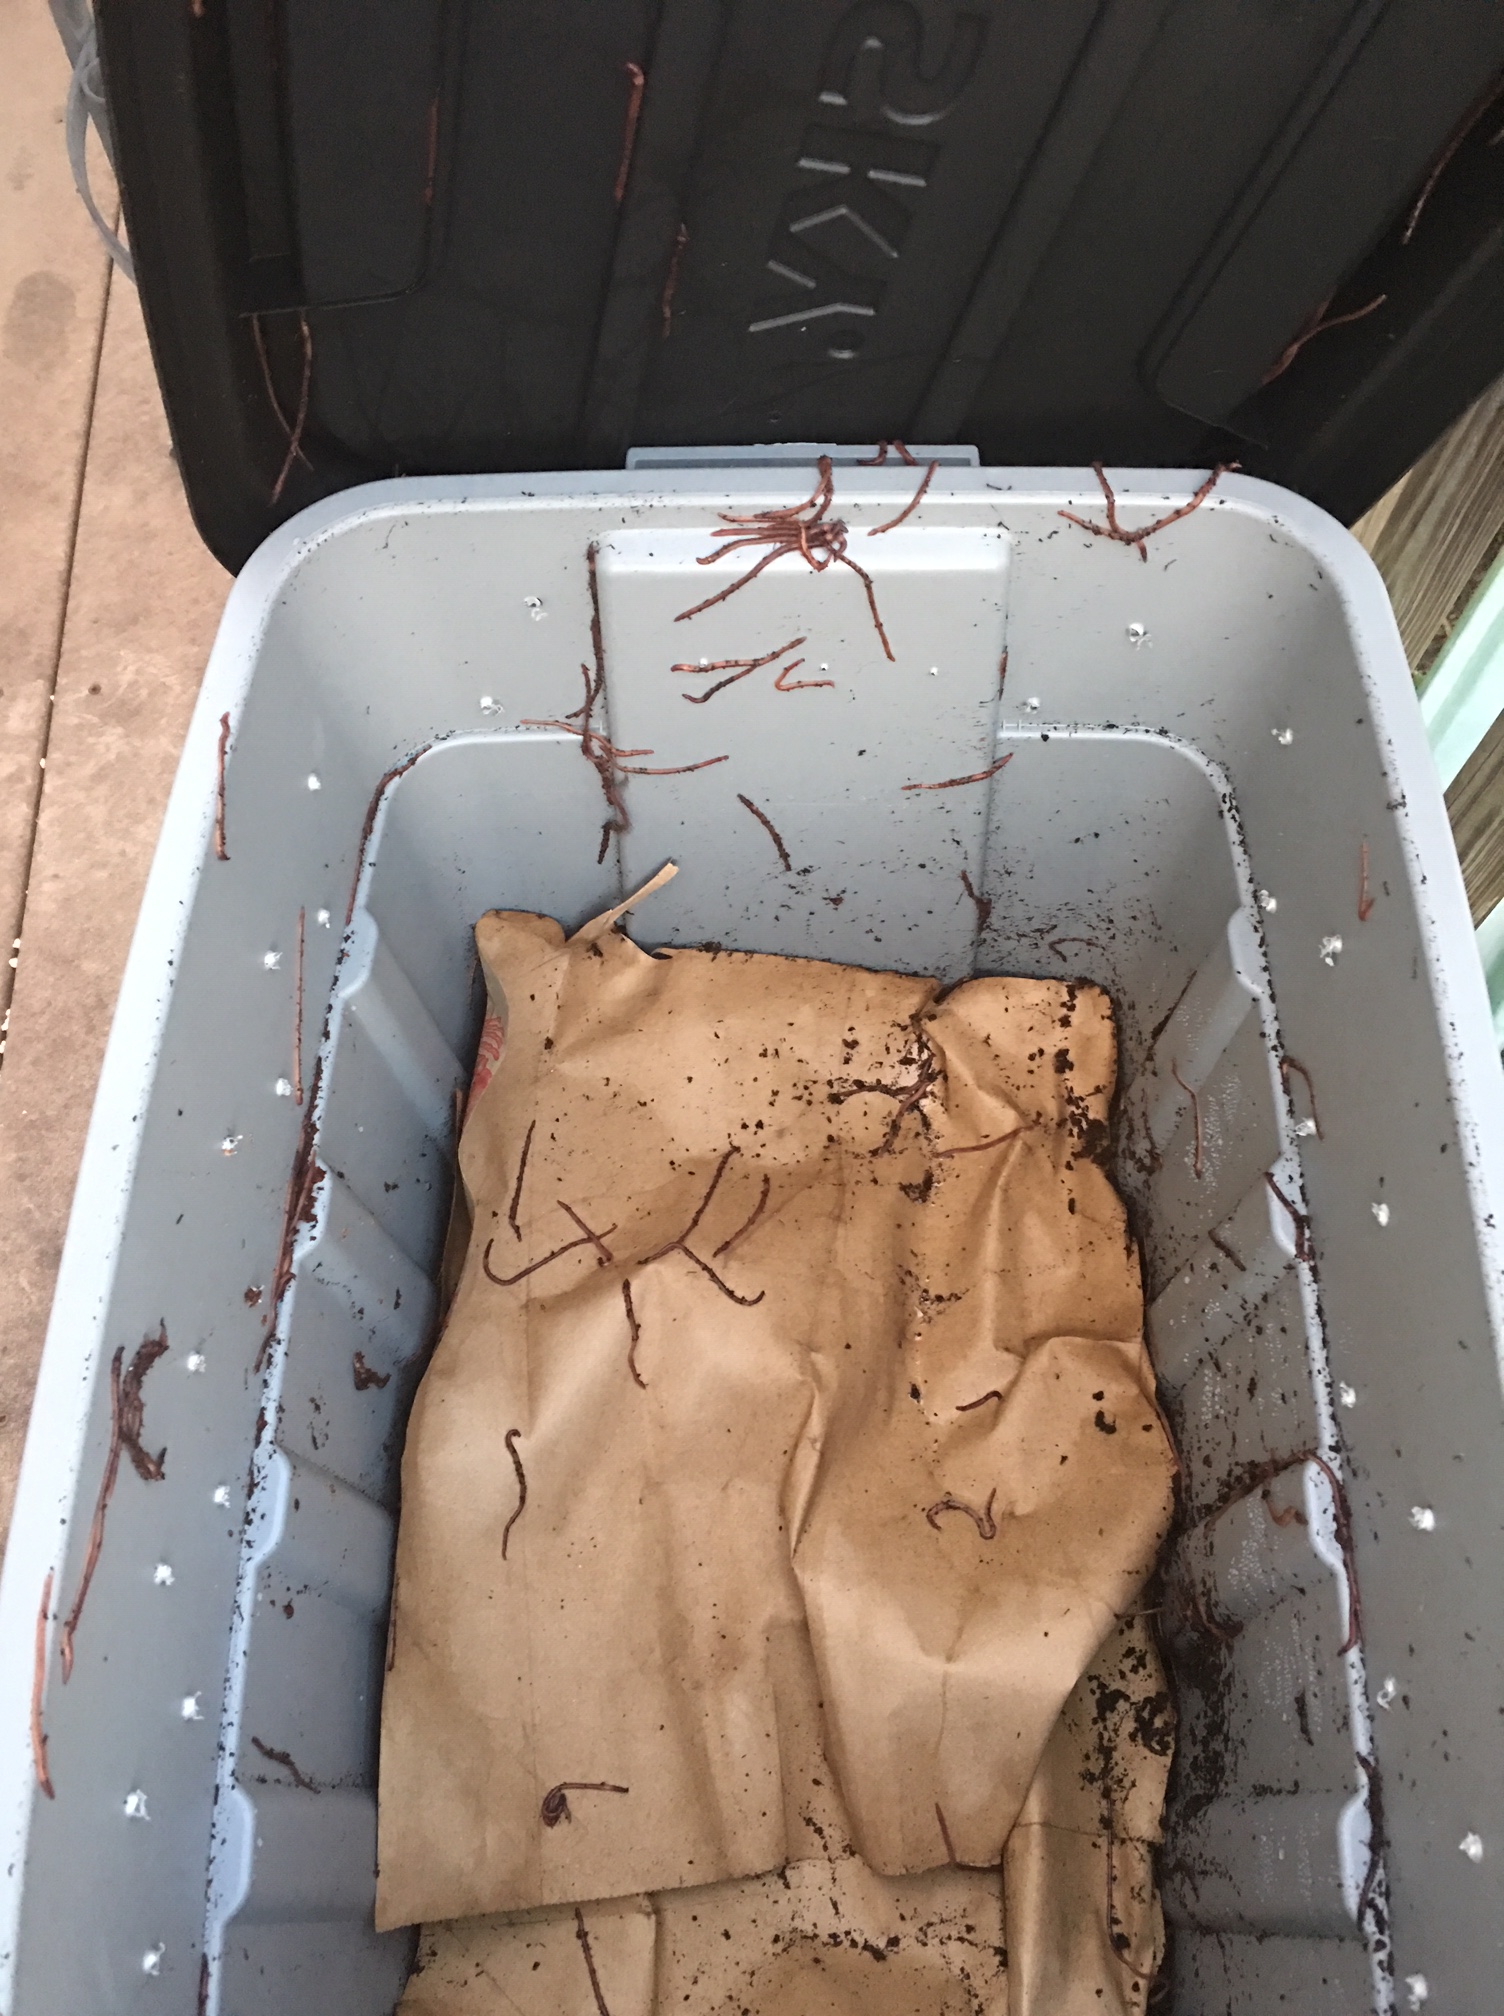
I couldn’t resist peeking in on them after a few hours, of course, and when I opened the lid they were EVERYWHERE. So much for the paper trick! I made sure none of the grumpy little wigglers had succeeded in escaping, and then put the lid back on carefully to avoid any accidental squishes. Night was falling and I guess I wanted to see if they’d go back down on their own.
Spoiler alert: They did not.
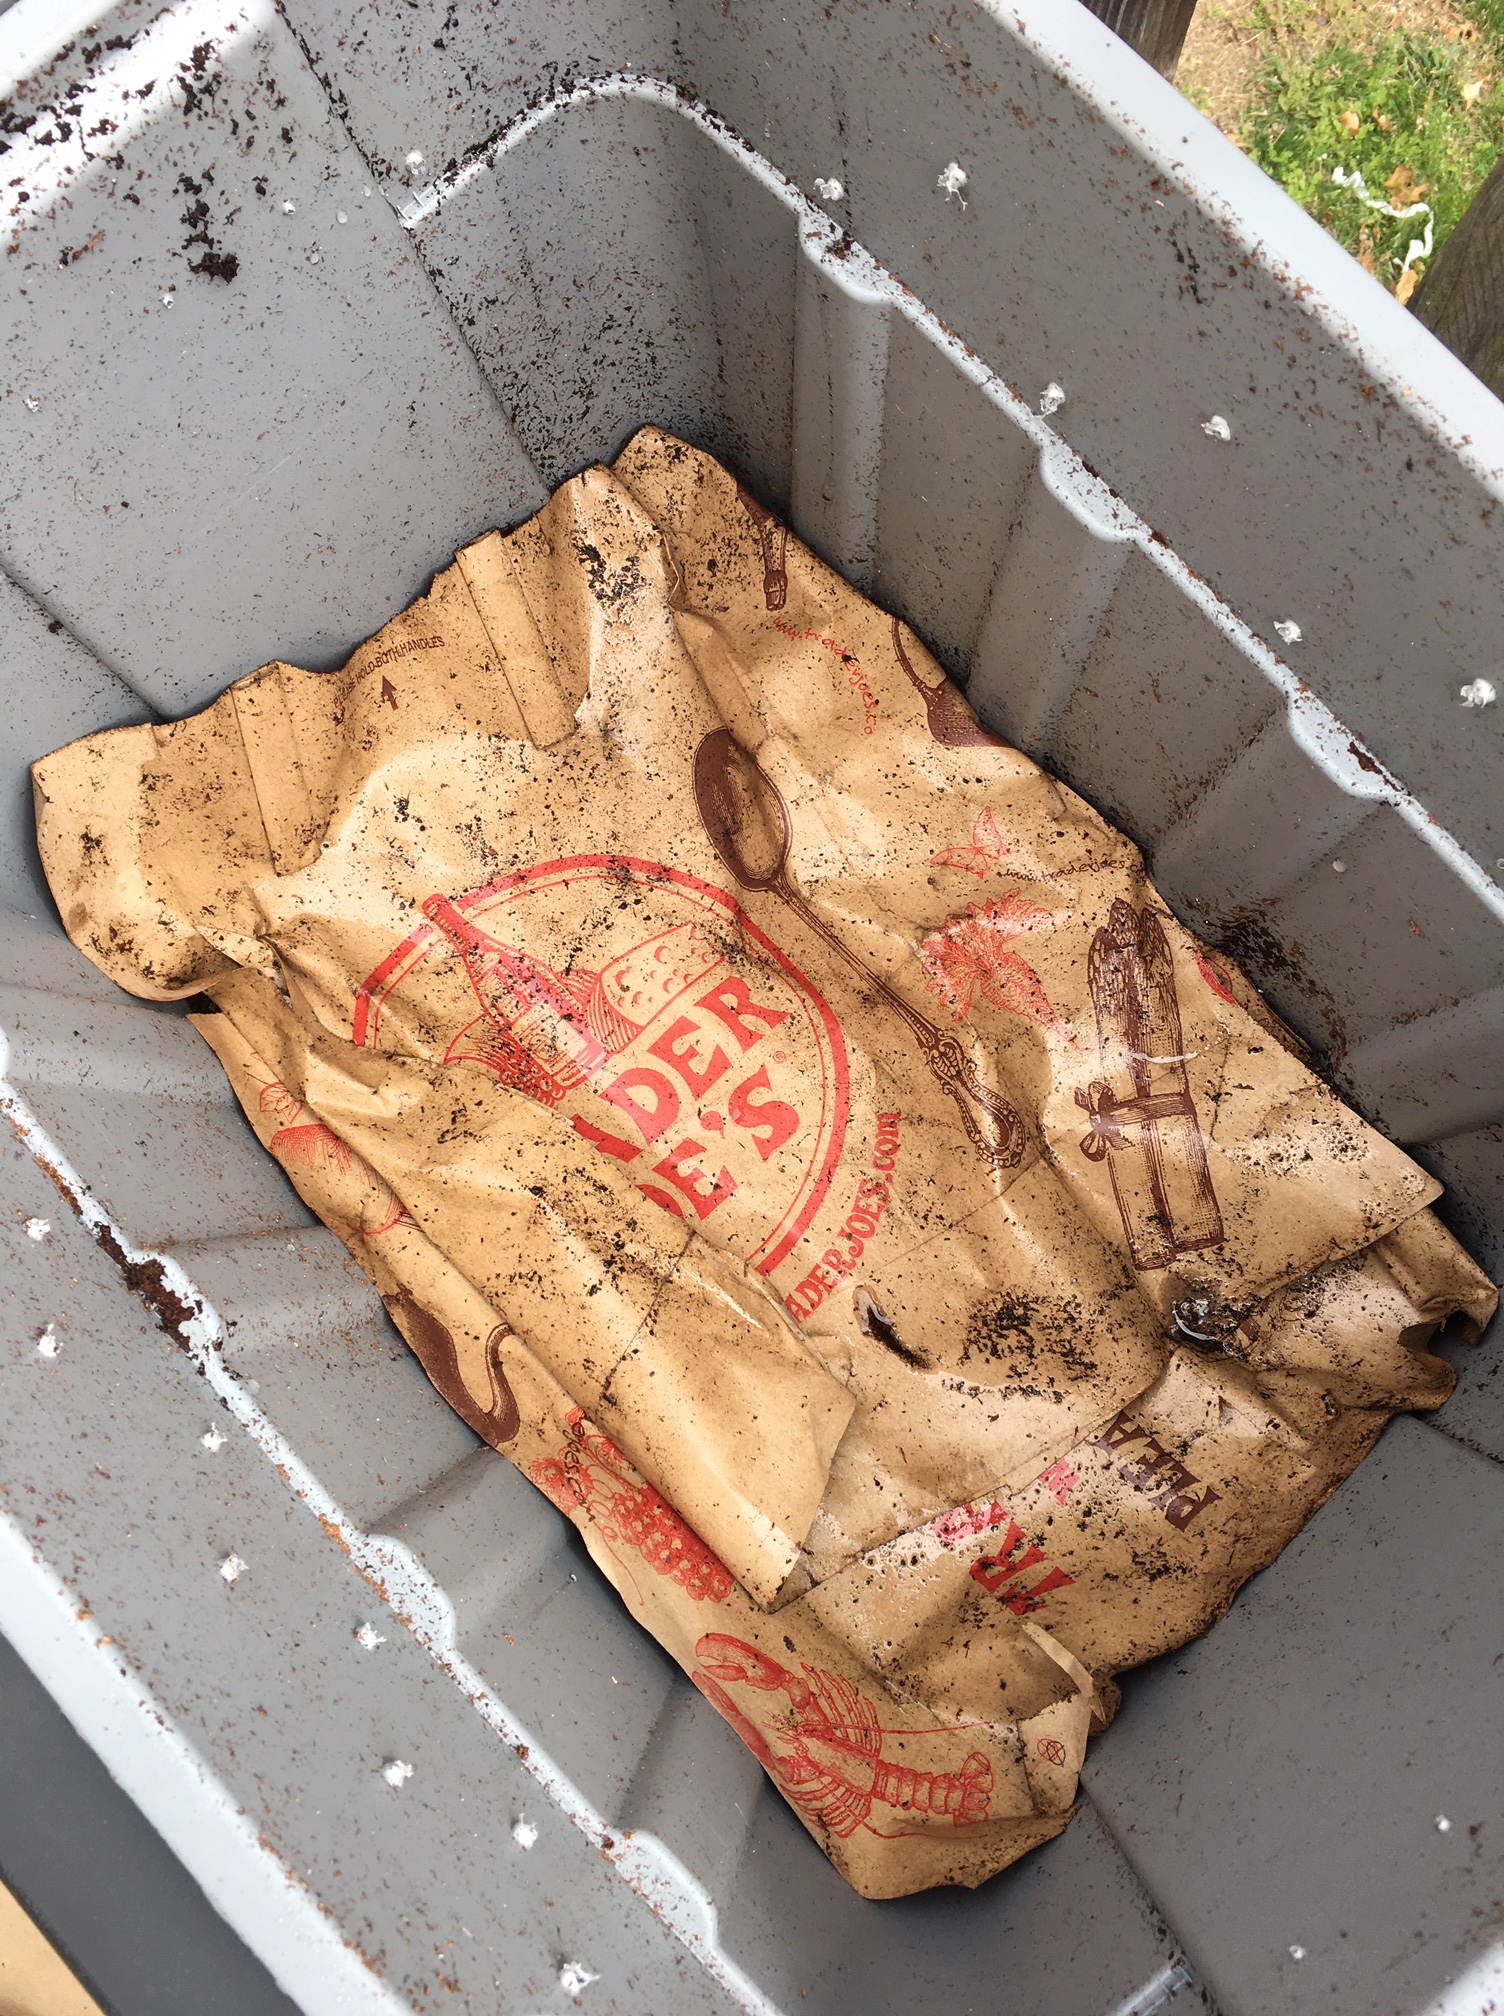
So this morning after it had warmed back up a bit, I removed the paper and scooped everyone back into the bedding. Another fact I had read was that they hate light, so after I put the worms back into the bottom of the bin, I left the lid off for a few minutes with the hopes that they would burrow back in and away from the sunlight. While waiting for them to do that, I removed the paper and sprayed it with water to make sure it was still damp enough and then I tucked them back in. When I was putting the paper back in, it did seem like most of them had burrowed into the bedding, so I think my sunlight trick worked. I haven’t checked on them again since then, but hopefully they stay in there this time! I’ll peak in on them later, but keep your fingers crossed for me!
All worm-escape-shenanigans aside, I’m very excited to have this bin going now! While the ultimate goal is to move the bin to my community garden plot, I’m going to start by keeping the bin on my deck for a few weeks until the weather is consistently warmer, and until I know they’re well established and I have a good idea of how often they need to be fed. For their first feed I gave them some kitchen scraps, and once I see they’re actually eating and reproducing I’ll introduce other yard waste so they aren’t so jarred when they get to the big garden and their diet will change somewhat. I’m feeling optimistic!
I’ll probably do an update post on my little wormy worms in a few weeks, so stay tuned! If you’re interested in seeing how things are going in a more real-time fashion, follow me on Instagram because I post these kinds of things in my stories fairly often!
See you next week!
